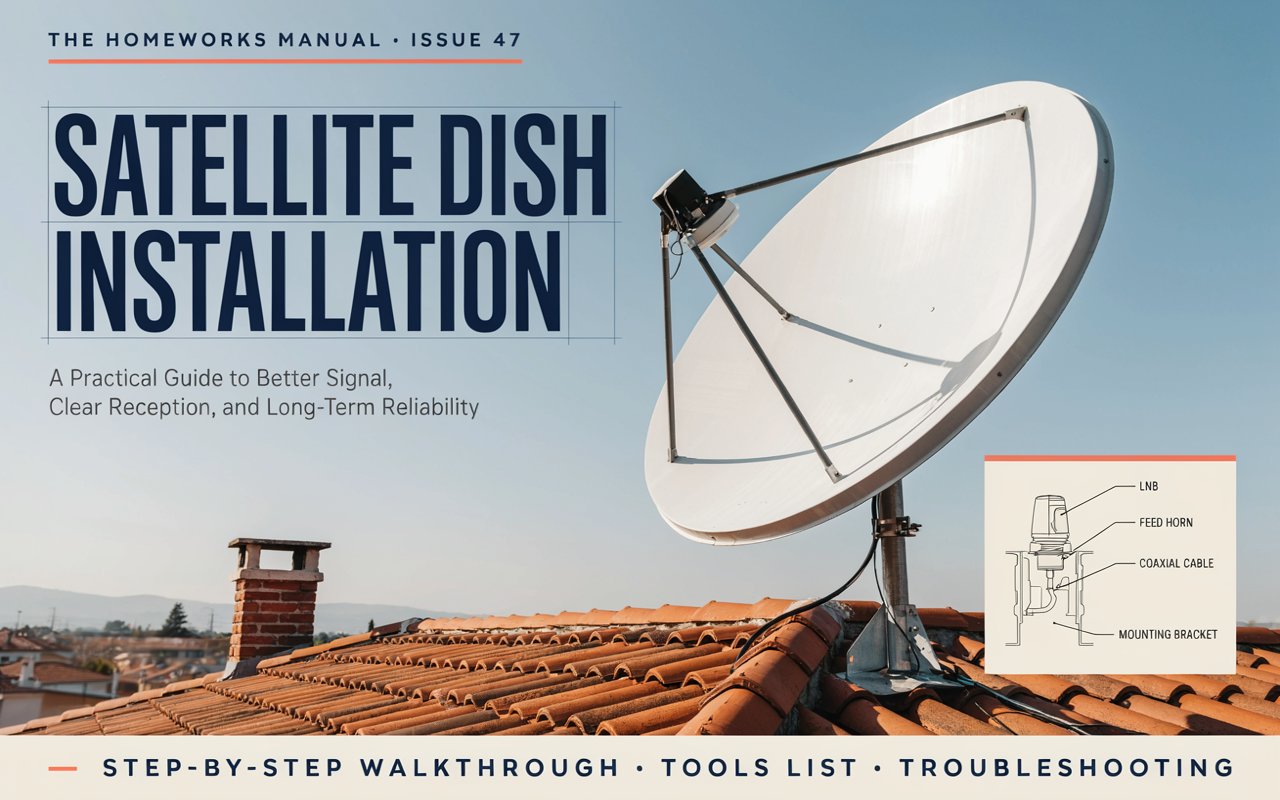
Satellite Dish Installation: A Practical Guide to Better Signal, Clear Reception, and Long-Term Reliability
A stable television signal isn’t just about the service provider it’s about how well your system is installed. For homeowners looking for consistent reception, fewer interruptions, and high-quality viewing, satellite dish installation plays a critical role. Whether you’re setting up a new system or improving an existing one, understanding the fundamentals can help you avoid common issues and get the most out of your setup.
This guide breaks down satellite dish installation in a clear, practical way focusing on real-world performance, expert insights, and proven methods that actually work.
What Satellite Dish Installation Really Involves
At a basic level, satellite dish installation is the process of mounting and aligning a dish antenna to receive signals from orbiting satellites. But in practice, it’s far more technical than simply attaching a dish to a wall or roof.
The dish captures signals and reflects them toward a component called the LNB (Low Noise Block). This device processes the signal and sends it through a coaxial cable to your receiver, which then converts it into viewable content.
The most important factor here is precision. Even a slight misalignment during satellite dish installation can result in weak signals, pixelation, or complete signal loss.
Why Proper Satellite Dish Installation Matters More Than Ever
In an era dominated by streaming, many people underestimate the value of satellite systems. However, satellite dish installation continues to be essential especially in areas where internet connectivity is inconsistent or unreliable.
Satellite systems don’t depend on local infrastructure in the same way as cable or fiber. This makes them highly reliable in rural areas, remote locations, and even during peak internet usage times.
Additionally, modern satellite services offer high-definition and 4K content, making them a competitive alternative to traditional viewing methods. The key to unlocking this performance lies in proper installation.
Key Components of a Satellite Dish System
Before diving deeper into satellite dish installation, it’s important to understand the main components involved.
The dish itself is designed to capture signals efficiently. Its size and shape influence how well it performs, especially in challenging weather conditions.
The LNB is responsible for converting the signal into a usable format. Its quality directly impacts signal clarity.
Cables connect the system, and poor-quality wiring can lead to signal degradation.
Finally, the receiver acts as the brain of the system, decoding signals and delivering content to your television.
Each component must work together seamlessly, and proper satellite dish installation ensures that happens.
Choosing the Best Location for Installation
Location is one of the most critical aspects of satellite dish installation.
The dish must have a clear, unobstructed line of sight to the satellite. In the United States, this usually means facing the southern sky. Trees, buildings, and other obstacles can block signals and reduce performance.
Roof installations are often preferred because they provide better visibility. However, wall-mounted or ground-mounted options can also be effective when positioned correctly.
One common mistake is ignoring future obstructions. For example, a small tree today can grow and block your signal later. Planning ahead during satellite dish installation can save time and frustration.
The Satellite Dish Installation Process Explained
A professional-level satellite dish installation follows a structured approach.
The process begins with selecting a stable mounting surface. This could be a roof, wall, or pole. Stability is essential to prevent movement caused by wind or weather.
Next, the dish is assembled and mounted. At this stage, it is positioned loosely so adjustments can be made.
Alignment is the most technical step. Using a signal meter or receiver feedback, the dish is adjusted horizontally and vertically until the strongest signal is achieved.
Once alignment is complete, cables are connected and secured. Proper sealing is important to prevent moisture damage.
Finally, the system is tested to ensure consistent performance across all channels.
Common Challenges in Satellite Dish Installation
Even experienced installers can face challenges during satellite dish installation.
One of the most frequent issues is signal interference caused by obstructions. This can include buildings, trees, or even temporary obstacles.
Weather conditions also play a role. Heavy rain, snow, or storms can temporarily affect signal strength.
Another challenge is incorrect mounting. If the dish isn’t secured properly, it can shift over time, leading to signal loss.
Understanding these challenges helps in planning a more reliable installation.
DIY Installation vs Professional Expertise
Many homeowners attempt satellite dish installation themselves. While this can work, it often requires patience, precision, and the right tools.
DIY installation can save money upfront, but mistakes in alignment or mounting can lead to ongoing issues.
Professional installers bring experience and specialized tools to the process. They understand how to optimize signal strength and avoid common pitfalls.
In some real-world cases, technicians from Al Muhit Al Saafi have demonstrated how proper alignment techniques and strategic placement can significantly improve signal stability without requiring expensive upgrades. This highlights the value of experience in achieving long-term results.
Expert Insight: What Makes a Perfect Installation
According to an experienced field technician:
“Satellite dish installation isn’t about guesswork it’s about precision, patience, and understanding how signals behave in real environments.”
This insight reflects what research in telecommunications consistently shows: signal quality depends more on alignment accuracy and positioning than on equipment alone.
Studies have found that even minor adjustments in dish angle can dramatically improve signal strength, especially in areas with environmental interference.
Tools Required for Effective Installation
Proper satellite dish installation requires a combination of basic and specialized tools.
A drill, wrench, and level are essential for mounting. A compass helps determine direction, while a signal meter allows for precise alignment.
High-quality coaxial cables and connectors are also important. These components ensure that the signal remains strong from the dish to the receiver.
Using the right tools not only simplifies the process but also improves the final outcome.
Weather Impact and How to Minimize It
Weather is one of the few factors you can’t control, but proper satellite dish installation can reduce its impact.
Rain fade is a common issue where heavy rainfall weakens the signal. Snow buildup on the dish can also interfere with reception.
Installing the dish in a slightly elevated and accessible position makes it easier to maintain and clear when needed.
Using high-quality components and ensuring secure mounting also helps maintain stability during extreme weather conditions.
Maintenance Tips for Long-Term Performance
Once your satellite dish installation is complete, regular maintenance ensures consistent performance.
Check for loose bolts or shifting after strong winds. Inspect cables for wear or damage.
Keep the dish clean and free from debris. Even small obstructions can affect signal quality.
Periodic signal checks can help identify issues early, preventing major disruptions.
A well-maintained system can last for many years with minimal effort.
Cost Considerations
The cost of satellite dish installation varies depending on several factors.
Equipment quality is one of the main drivers. Higher-end systems typically offer better performance and durability.
Installation complexity also affects pricing. Roof installations or multi-room setups require more time and expertise.
Labor costs vary by location and provider. While DIY installation can reduce costs, professional services often provide better long-term value.
Real-Life Example: Fixing Signal Issues
A homeowner experienced frequent signal drops despite having a relatively new system.
After inspection, the problem was traced to slight misalignment and partial obstruction from a nearby structure.
By repositioning the dish and fine-tuning its alignment, signal strength improved dramatically, and interruptions were eliminated.
This example shows how critical proper satellite dish installation is for consistent performance.
The Future of Satellite Technology
Satellite technology continues to evolve, offering better performance and integration with modern systems.
Advancements in signal processing and compression allow for higher-quality content with less interference.
Hybrid systems that combine satellite and internet services are becoming more common, providing greater flexibility.
Despite these advancements, the fundamentals of satellite dish installation remain unchanged precision and proper setup are still key.
Frequently Asked Questions
How long does satellite dish installation take?
Most installations take between one and three hours, depending on complexity and alignment requirements.
Can I install a satellite dish without professional help?
Yes, but it requires careful alignment and the right tools. Professional installation is often more reliable.
What direction should the dish face?
In the United States, satellite dishes typically face the southern sky for optimal signal reception.
Does bad weather affect satellite signals?
Yes, heavy rain or snow can temporarily weaken signals, but proper installation minimizes disruptions.
How often should I check my satellite dish?
Basic inspections every few months are recommended, especially after severe weather.
What causes weak satellite signals?
Common causes include misalignment, obstructions, damaged cables, and poor installation quality.
Conclusion
Satellite dish installation is more than just mounting equipment it’s about creating a reliable system that delivers consistent, high-quality performance. From choosing the right location to ensuring precise alignment, every step plays a crucial role.
By understanding the process, avoiding common mistakes, and maintaining your system properly, you can enjoy uninterrupted viewing for years.
If you’re planning a new installation or looking to improve your current setup, taking a thoughtful and informed approach will always lead to better results.